Top 5 Mini Tiller Tips for Efficient Gardening Success?
In the world of gardening, efficiency is key. A recent report from the National Gardening Association revealed that nearly 80% of gardeners are seeking tools to ease their workload. Mini-Tillers are at the forefront of this movement, enabling gardeners to cultivate their soil with minimal effort. John Smith, a respected expert in the Mini-Tiller industry, emphasizes, "The right tools can transform your gardening experience."
Using a Mini-Tiller can significantly enhance productivity. These machines are designed to break up soil quickly and thoroughly, making preparation for planting less of a chore. However, not all Mini-Tillers are created equal. Understanding how to maximize their effectiveness is crucial. Common pitfalls, such as improper maintenance or using incorrect settings, can lead to frustration and wasted time.
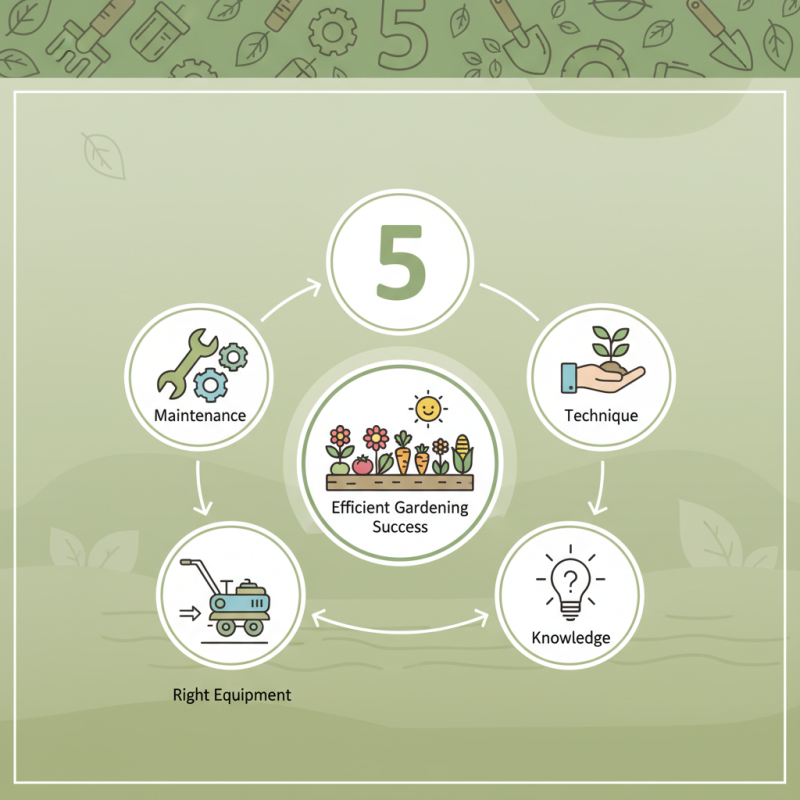
Gardening should bring joy, not stress. Reflecting on your Mini-Tiller usage can lead to better results. Investing in knowledge, embracing technique, and choosing the right equipment can minimize mistakes. By adapting your approach, you'll pave the way for a more fruitful gardening experience.
Understanding the Benefits of Using a Mini Tiller in Gardening
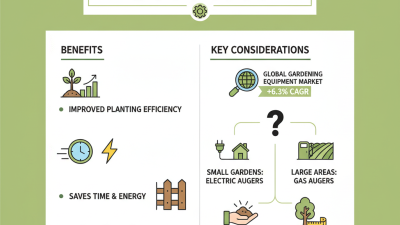
A mini tiller can be a game changer in gardening. It breaks up soil easily, promoting better aeration and nutrient absorption. Studies show that well-aerated soil can increase plant growth by 30%. Understanding its benefits is key to achieving gardening success.
Using a mini tiller greatly saves time and effort. This tool can till an area up to five times faster than traditional methods. This means less fatigue for gardeners and more efficiency in the garden. Keeping your mini tiller well maintained is vital. A clean tiller performs better and lasts longer.
Tip: Use your mini tiller in dry soil for best results. Wet soil can clump, making tilling harder. Another tip is to avoid tilling too deeply. Over-tilling can lead to soil erosion and disruption of beneficial microorganisms.
Gardeners often overlook the importance of soil health. The right tilling technique can help retain moisture and improve soil structure. In doing so, it creates a more sustainable garden environment. These nuances can significantly impact the success of your gardening journey.
Top 5 Mini Tiller Tips for Efficient Gardening Success
Choosing the Right Mini Tiller for Your Specific Gardening Needs
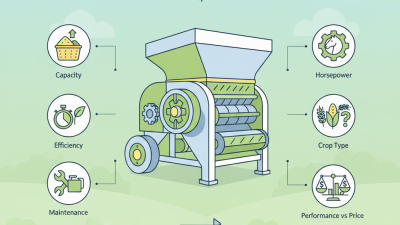
Choosing the right mini tiller is essential for successful gardening. Start by assessing your garden size. Larger gardens benefit from a powerful tiller, while smaller ones need something light and easy to maneuver. Think about the soil type too. Rocky or clay-heavy soil requires sturdy tines. Soft, loamy soil can be tackled with lighter options.
Tip: Always test how easy it is to handle the mini tiller. A machine that's challenging to control could lead to frustration. Look for models with adjustable handles for better ergonomics.
Another important aspect is depth settings. Some tillers allow you to control how deep you want to go. This is crucial for planting and aerating efficiently. If you plan to grow root vegetables, ensure your tiller can reach the necessary depth.
Tip: Check the warranty and customer service reputation. A reliable brand may offer peace of mind. This might save you time and money on repairs later. Gardening is a learning journey. Sometimes, mistakes can lead to great insights. Embrace them as you refine your approach.
Essential Tips for Proper Mini Tiller Maintenance and Care
Caring for your mini tiller is essential for achieving efficient gardening success. Proper maintenance ensures its longevity and performance. Regularly check and clean air filters. Dust and debris can clog filters, reducing efficiency. Change the oil as recommended. This will keep the tiller running smoothly.
Remember to inspect the tines frequently. Dull or damaged tines can negatively impact soil turning. Replace them as needed to maintain optimal performance. Lubricate moving parts to prevent rust. A little oil goes a long way in extending your tool's life.
Don't overlook the importance of proper storage. Store your tiller in a dry place to prevent moisture damage. Avoid leaving it outdoors. Cleaning it after each use is vital too. Residue left behind can cause wear. Reflect on your tilling practices regularly. Careful attention to these details can make all the difference in your gardening efforts.
Top 5 Mini Tiller Tips for Efficient Gardening Success
| Tip |
Description |
Frequency |
Additional Notes |
| Keep it Clean |
Regularly clean the tiller's blades and undercarriage to prevent soil build-up and rust. |
After each use |
Use a soft brush and cloth for cleaning. |
| Check the Oil |
Regularly inspect and change the engine oil to ensure optimal performance. |
Every 10 hours of operation |
Refer to your owner's manual for oil type and change procedures. |
| Inspect the Tines |
Check the tines for wear and damage; replace as needed to maintain effectiveness. |
Monthly or before heavy use |
Sharp tines work better and dig deeper. |
| Adjust Depth Settings |
Know how to adjust the tilling depth for different soil conditions. |
As needed |
Shallower tilling is better for maintaining soil structure. |
| Store Properly |
Store the tiller in a dry place, covered, to prevent moisture and rust. |
Off-season |
Consider using a fuel stabilizer before long-term storage. |
Techniques for Effective Soil Preparation with a Mini Tiller
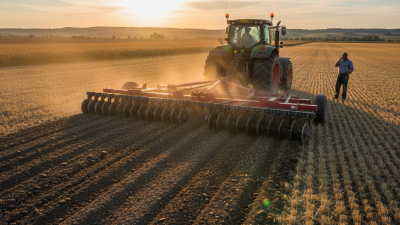
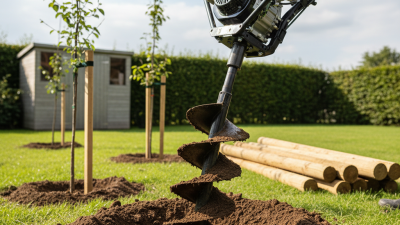
Using a mini tiller can turn hard soil into a fruitful garden. Before using it, proper soil preparation is key. Ensure the area is free from rocks and debris. Remove weeds to give your plants the best chance. Check for any underground structures too. This attention to detail saves time and effort later.
When you start tilling, maintain a steady pace. Over-tilling can harm the soil structure. Aim for a depth of about six inches. This is where most roots will thrive. Don’t rush; take your time to cover the entire area evenly. Adjust the tilling speed for tough spots. Allow the tiller to work through difficult areas, but avoid deep digging that can disturb soil life.
After tilling, assess your results. Is the soil crumbly and light? If not, consider re-tilling or adding organic matter. This will enhance soil fertility and promote healthy growth. Reflect on your method. Are there better practices? Always be open to learning. Gardening is as much about experimenting as it is about following techniques.
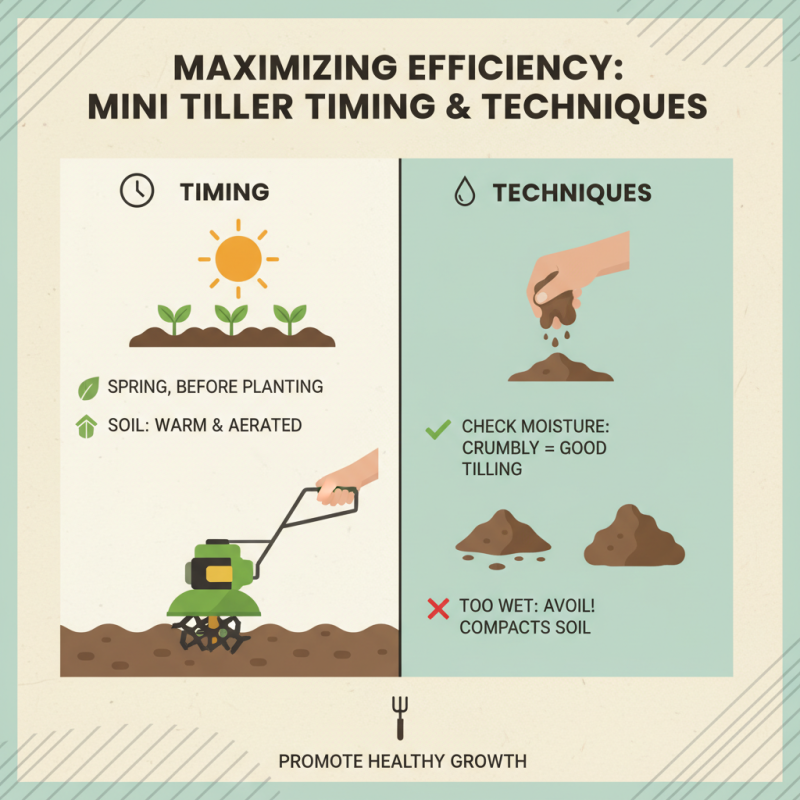
Maximizing Efficiency: Timing and Techniques for Using a Mini Tiller
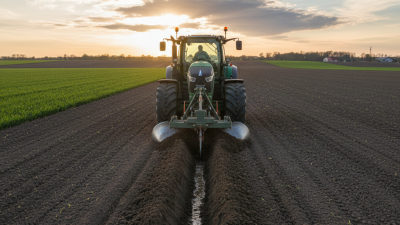
Using a mini tiller can significantly improve garden efficiency when done right. Timing is crucial. For the best results, till your garden in the spring before planting. This allows the soil to warm up and aerate, promoting healthy growth. However, if the soil is too wet, you may end up compacting it instead of loosening it. Check the ground moisture first. Dry soil usually allows for better tilling.
Technique matters as much as timing. Approach tilling in a systematic way. Divide your garden into sections and tackle one at a time. This helps ensure uniform soil disruption. Keep the tiller at a consistent depth. However, don’t be afraid to adjust your speed or depth based on soil conditions. Roots and rocks can cause hiccups. Pause to clear any obstructions to avoid damaging your equipment.
Reflect on your progress after each session. Are you achieving the desired soil texture? Be open to the possibility that some areas may need further tilling. Observing how plants respond post-tilling can guide future efforts. Learn from what works and what doesn’t, as gardening is a continuous journey of improvement.